
When your machine runs a VNC server, you can access its screen without you first needing to establish a VPN connection to your device.
Add a VNC service
The next steps show you how to set up an VNC service.
- Open the CloudVPN Portal Fleet Manager app, which is accessible from the Apps menu
 in the top right corner if you are currently in a different CloudVPN Portal app.
 - Open the main menu
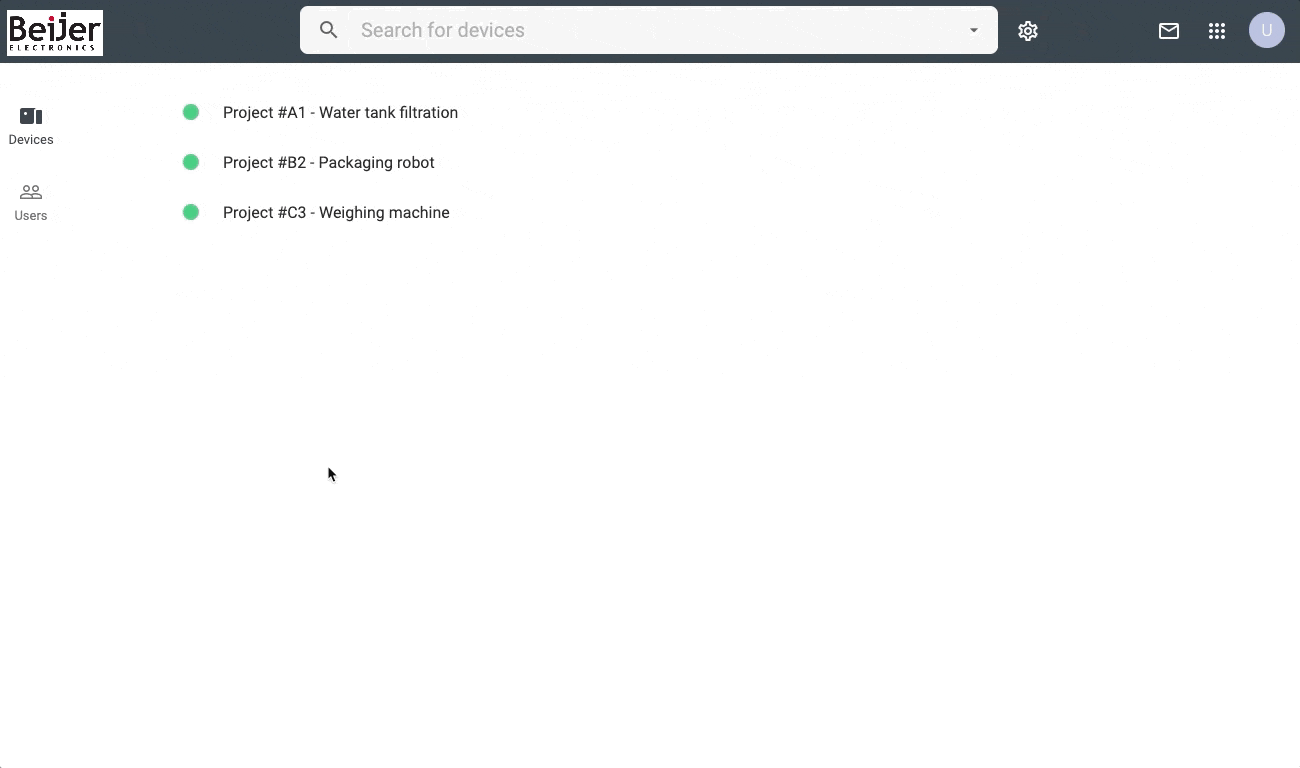
 , go to Devices
  , and select the concerning device.
 - Click on the Add a service
 icon in the left menu and select [VNC server].
 - Enter the requested information (details below) and click on [Add].
| Field | Description |
|---|---|
| Name | Name your VNC service for easy distinction from other services. |
| IP address | The IP address of your machine. Leave empty when your machine ís the device (CloudVPN Agent). |
| Port | The port number where the VNC server can be reached. By default it's 5900 (for VNC). |
| Password | If your machine's VNC server is password protected, enter its password here. |
| Access category | The audience determines who can use this VNC service. More information about audiences and how you can create one can be found here. |
| Read-only mode | Enabling read-only mode will ignore any user input for this VNC service. |
| Encoding | Leave "automatic" for compatibility with most systems. Using Lenze hardware? Set the encoding to Hextile instead. |
| Color depth | Leave "automatic" for compatibility with most systems. Using B&R hardware? Set the color depth to what is set on your B&R device instead (default is 8-bit). Using VIPA hardware? Set the color depth to what is set on your VIPA device instead (either 8 or 32-bit). |
| Machine settings | You may need to adjust your machine settings. Using Siemens hardware? First, go to "Runtime Settings" for your HMI in your TIA Portal project, ensure that "Start Sm@rtServer" is checked and apply it by downloading the hardware configuration to the PLC. Then open the Sm@rtServer settings on the HMI by stopping the runtime, opening "Settings", then open "WinCC Internet Settings", go to the "Remote" tab, click on "Change settings", and go to the "Server" tab. There, set a password and uncheck "Encrypt communication".  Using Universal Robots hardware? Make sure you have installed the CloudVPN URcap, enabled its VNC server, and set a password. Using PC hardware? Make sure that your VNC server is set to accept unencrypted connections. |

You have now made the changes in the CloudVPN Portal, but these are not yet active in your device. You will need to push your changes to your device for them to take effect.
- Click [Push config to device] in the top right corner
Universal Robots
When you would like to use a VNC-service on your Universal Robot, you first need to install the "CloudVPN connector" URcap, which contains a VNC service.All set up
Now you're all set up to easily access your machine's screen via VNC.Use a VNC service
You can use the VNC service once the device is back online.
- Open the CloudVPN Portal Portal app, which is accessible from the Apps menu in the top right corner if you are currently in a different CloudVPN Portal app.
- Go to Devices in the left menu, select the concerning device, and click on the name of your VNC service
 in the remote access section.
Tip: Read only mode
You can add a VNC server twice: once with read-only mode and once without read-only mode. This way you can give some people access to the read-only and some people full access using access categories.
Comments
0 comments
Article is closed for comments.